
| ||
| go to overview
B | NL | L |
next » | |
| A9 |  |
Diemen | » Alkmaar |
 |
|||
|
Configuration of intersection (External website) |
Go to the photos of A1:
» Osnabrück (D) & » Amsterdam |
| A9 |  |
1 Gaasperplas | » Alkmaar |
 |
|||
| A9 | |
2 Bijlmermeer | » Alkmaar |
 |
|||
| A9 | |
3 Amsterdam-Zuid-Oost | » Alkmaar |
 |
|||
| A9 | |
Holendrecht (Noord) | » Alkmaar |
 |
|||
|
Configuration of intersection (External website) |
Go to the photos of A2:
» Amsterdam & » Liège (B) |
| A9 |  |
2 (A2) AMC | » Alkmaar |
 |
|||
| A9 | |
Holendrecht (Zuid) | » Alkmaar |
 |
|||
|
Configuration of intersection (External website) |
Go to the photos of A2:
» Amsterdam & » Liège (B) |
| A9 | |
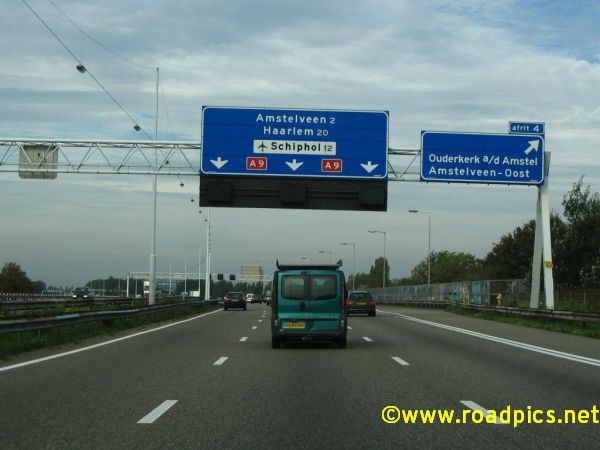
4 Ouderkerk a/d Amstel | » Alkmaar |
 |
|||
| A9 | |
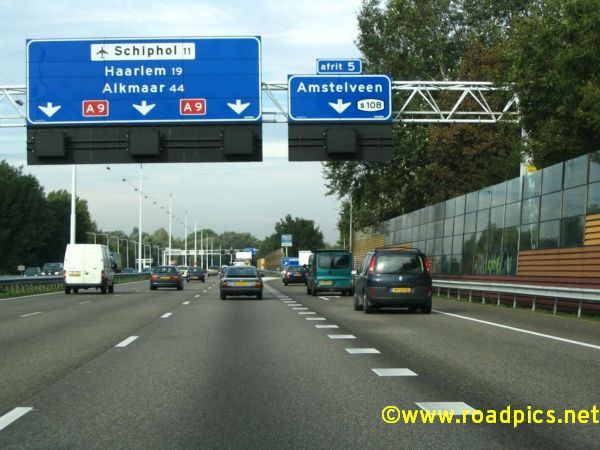
5 Amstelveen | » Alkmaar |
 |
|||
| A9 |  |
Hammerstein | » Alkmaar |
 |
|||
| A9 | |
6 Aalsmeer | » Alkmaar |
 |
|||
| A9 | |
Badhoevedorp | » Alkmaar |
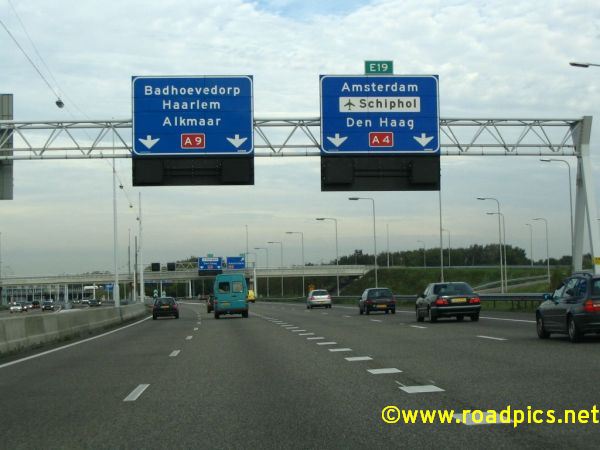 |
|||
|
Configuration of intersection (External website) |
Go to the photos of A4:
» Amsterdam & » Antwerpen (B) |
| A9 | |
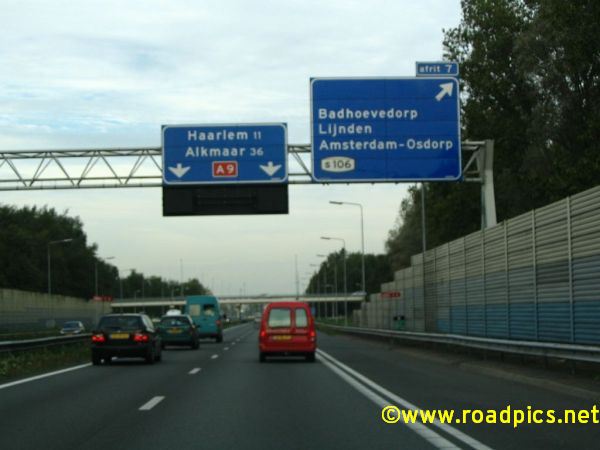
7 Badhoevedorp | » Alkmaar |
 |
|||
| A9 | |
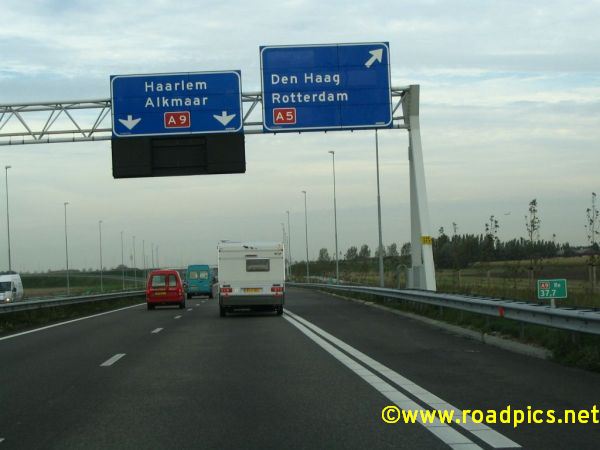
Raasdorp | » Alkmaar |
 |
|||
|
Configuration of intersection (External website) |
Go to the photos of A5:
» Amsterdam-West & » Schiphol |
| A9 | |
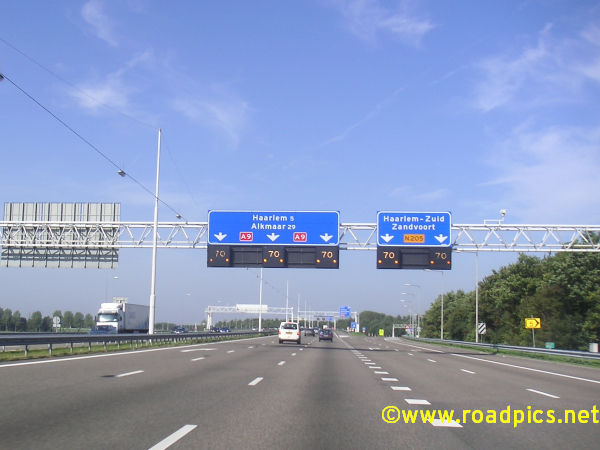
Rottepolderplein (Zuid) | » Alkmaar |
 |
|||
|
Configuration of intersection (External website) |
Go to the photos of A205:
» A9 & » Haarlem |
| go to overview
B | NL | L |
next » | |
| Go to photos in direction: Alkmaar » Diemen | ||